
Mold Remediation in Rio Rancho, New Mexico
Mold Remediation in Rio Rancho, New Mexico
That musty smell you can’t place, a discolored patch on the ceiling, or a cough that won’t quit after a leak—these are often the first signs of mold. Sandia Disaster Restoration handles mold remediation in Rio Rancho from start to finish: we track down the moisture feeding it, remove the growth safely, and verify the results so you can breathe easy again. Call (505) 933-7204 for a 24/7 response.
Services We Provide
Water Damage Restoration
Fire and Smoke Restoration
Mold Remediation
Post-Disaster Continuity
Board-Up and Security
Complete Reconstruction
Specialty Cleaning
Storm Damage
Where Mold Comes From—and Why It Keeps Coming Back
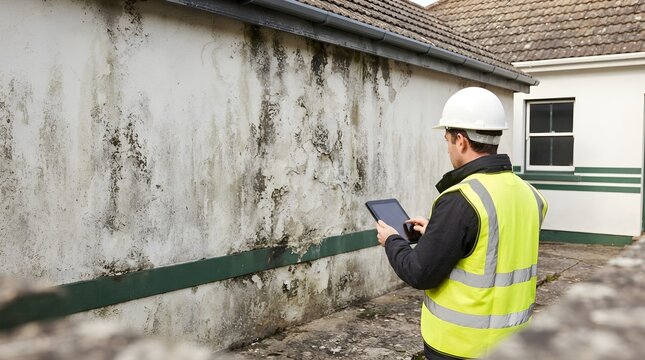
Mold is everywhere in the environment; it only becomes a problem when it finds a wet surface to settle on. In Rio Rancho, the pattern is usually the same: a small leak or a slow-drying area goes unnoticed, and weeks later there’s visible growth.
The moisture sources we uncover most often:
-
A pinhole leak in a supply line that dampens the same stud cavity for months
-
A roof or flashing leak that stains the ceiling only after heavy monsoon rain (learn more in storm damage restoration)
-
Carpet or padding that felt dry on top but stayed damp underneath after a spill (see water extraction and structural drying)
-
Bathroom and laundry exhaust that vents into the attic instead of outside
-
Flood water that soaked into framing and wasn’t fully dried (see flood damage restoration)
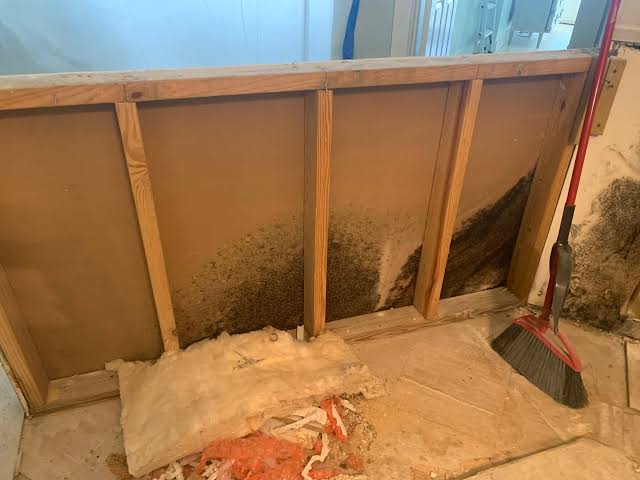
Here’s the part most people miss: killing the visible mold doesn’t solve the problem. If the moisture source stays, the growth returns—sometimes within weeks.
What Our Mold Remediation Process Looks Like
Step 1 — Find the source, not just the mold.
Before any removal begins, we trace the moisture back to its origin using meters and thermal imaging. Remediation without this step is temporary.
Step 2 — Seal off the work area.
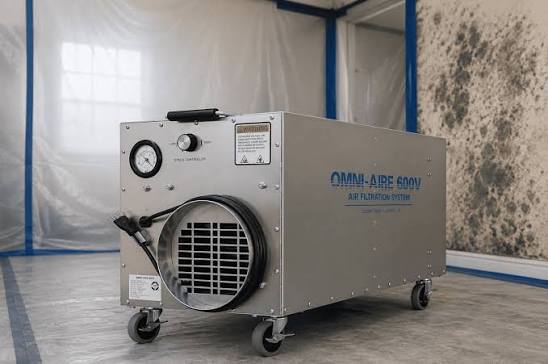
Containment barriers and negative air pressure keep spores from drifting into clean rooms while we work. (Our blog on containment barriers explains how this works.)
Step 3 — Filter the air.
HEPA air scrubbers run continuously, capturing airborne spores that get stirred up during removal.
Step 4 — Remove and clean.
Porous materials with active growth—drywall, insulation, ceiling tile—are bagged and removed. Hard surfaces are HEPA-vacuumed and treated with EPA-registered products.
Step 5 — Fix what caused it.
We repair the leak, correct the ventilation, or address the humidity issue so the conditions that fed the mold no longer exist. (Structural repairs fall under post-disaster reconstruction.)
Step 6 — Confirm the result.
Moisture readings and a visual clearance check confirm the area is dry and clean before containment comes down.
Homes and Businesses: Two Different Playbooks
For homeowners: We treat the whole house as a living space, not a job site. Work is scheduled around your family, containment keeps spores out of clean rooms, and we explain each step in plain language. → Residential Services
For commercial properties: The priority is keeping the doors open. We phase the work by zone, run equipment after hours where needed, and provide the documentation property managers and insurers require. → Commercial Services
What Drives the Cost of Mold Remediation
No two mold jobs are priced the same. The biggest variables:
-
How much area is affected — a single wall cavity is a very different job than an entire basement
-
What the mold is growing on — drywall and insulation usually have to go; concrete, tile, and framing can often be cleaned
-
Whether the moisture source is obvious or hidden — finding a concealed leak adds inspection time
-
Access — mold inside a wall or under flooring takes more labor to reach
-
Verification testing — some jobs call for third-party clearance testing, which we can coordinate
You’ll get a written estimate before any work starts, and we bill insurance directly when coverage applies.
FAQs
I only see a small patch of mold. Do I really need a professional?
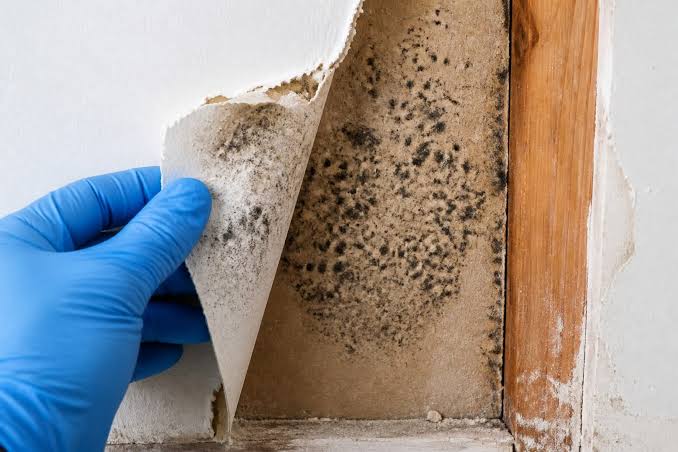
A small spot on a hard surface can sometimes be cleaned safely. But if the growth is behind drywall, in insulation, or keeps reappearing, there’s moisture feeding it that needs to be found and fixed—that’s work for a professional.
Can I just paint over it?
No. Paint doesn’t kill mold or remove the moisture source, and the growth will usually return through or under the new paint.
How long does remediation take?
A contained area can often be finished in one to three days. Larger jobs or ones requiring reconstruction take longer, and drying time affects the schedule.
Do you test for mold?
We inspect visually and with moisture tools to map the extent of growth. If independent lab testing is needed, we can coordinate third-party testing.
What if the mold comes back?
It shouldn’t—if the moisture source was corrected. Our process treats fixing the cause as part of the job, not an optional add-on. (Our blog on why mold returns explains this in detail.)
How to Request Help
Call (505) 933-7204 any time—day or night—for emergency water damage restoration in Rio Rancho. We respond 24/7, provide a clear estimate, and work directly with your insurance.
We also serve Rio Rancho, Albuquerque, Santa Fe, and Sandoval County.